
Creamy shredded chicken and vegetables under a braided puff pastry lid - no bottom crust to go soggy, and the braid bakes up crisp in about 45 minutes. Total time from stovetop to table is roughly 1 hour.

📷 Recipe Snapshot
🍽️Recipe: Puff Pastry Chicken Pot Pie
⏲️Ready In: 1 hr
👥Serves: 4-6
🌏Cuisine: American
💪Difficulty: Easy
📌Recipe Type: Main Course / Pot Pie
🌟Ingredient Highlights: chicken breast, carrots, celery, onion, peas, corn, heavy cream, puff pastry
❤️Why You'll Love It: Creamy chicken and vegetables tucked under a golden braided puff pastry lid, making it a cosy and satisfying meal.
💡 Summarize and save this recipe on
If you like the creamy filling but want to skip the pastry, my Romanian creamy chicken and mushroom stew is the same idea, minus the crust - chicken in a silky sauce, usually spooned over mămăligă.
Starting from a whole roasted bird instead of raw breasts adds more flavor - my guide to roasting a whole chicken shreds just as well here as it does in soup. For the same braided pastry technique in dessert form, try my puff pastry apple pie, or pair this with a one-pan beef stew for stocking the freezer this winter.
Jump to:
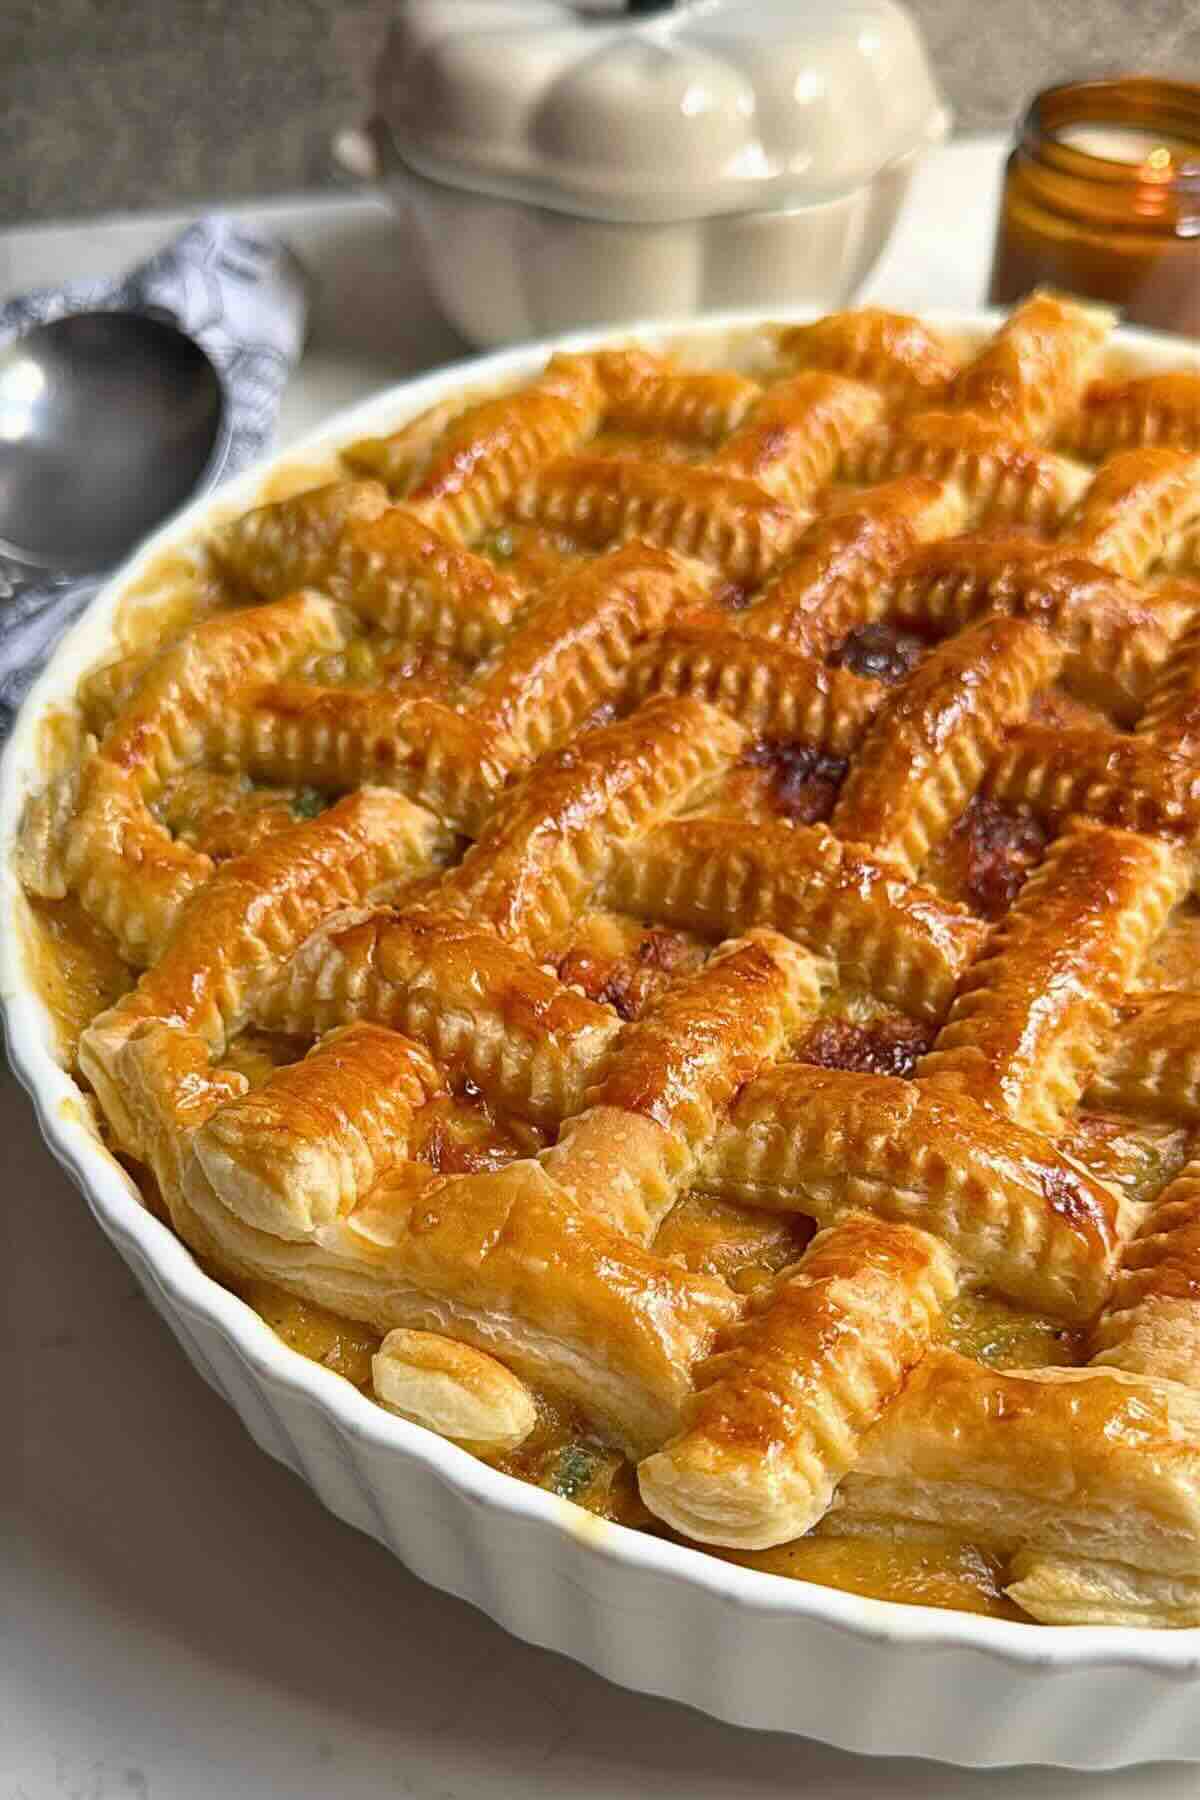
The braid isn't just for looks. Strips laid side by side and woven together leave small gaps where steam can escape, so the pastry puffs evenly instead of trapping moisture under one solid sheet. If you've had a pot pie where the center of the crust never quite crisped up, this is usually why - a single unbroken sheet holds steam right where you don't want it.
One more thing worth knowing: shredding the chicken while it's still warm, right after cooking, is much easier than waiting for it to cool. A stand mixer with the paddle attachment does it in under a minute, but two forks work fine if you're doing a smaller batch.
💗 Why You'll Love This Recipe
- The braided top stays crisp all the way through, not just around the edges
- No pie dough to roll, blind-bake, or fuss over - puff pastry comes ready-rolled
- The filling comes together in one pan, so cleanup is minimal
- Freezes well after baking, so it's a genuine make-ahead dinner
🥘 Ingredients
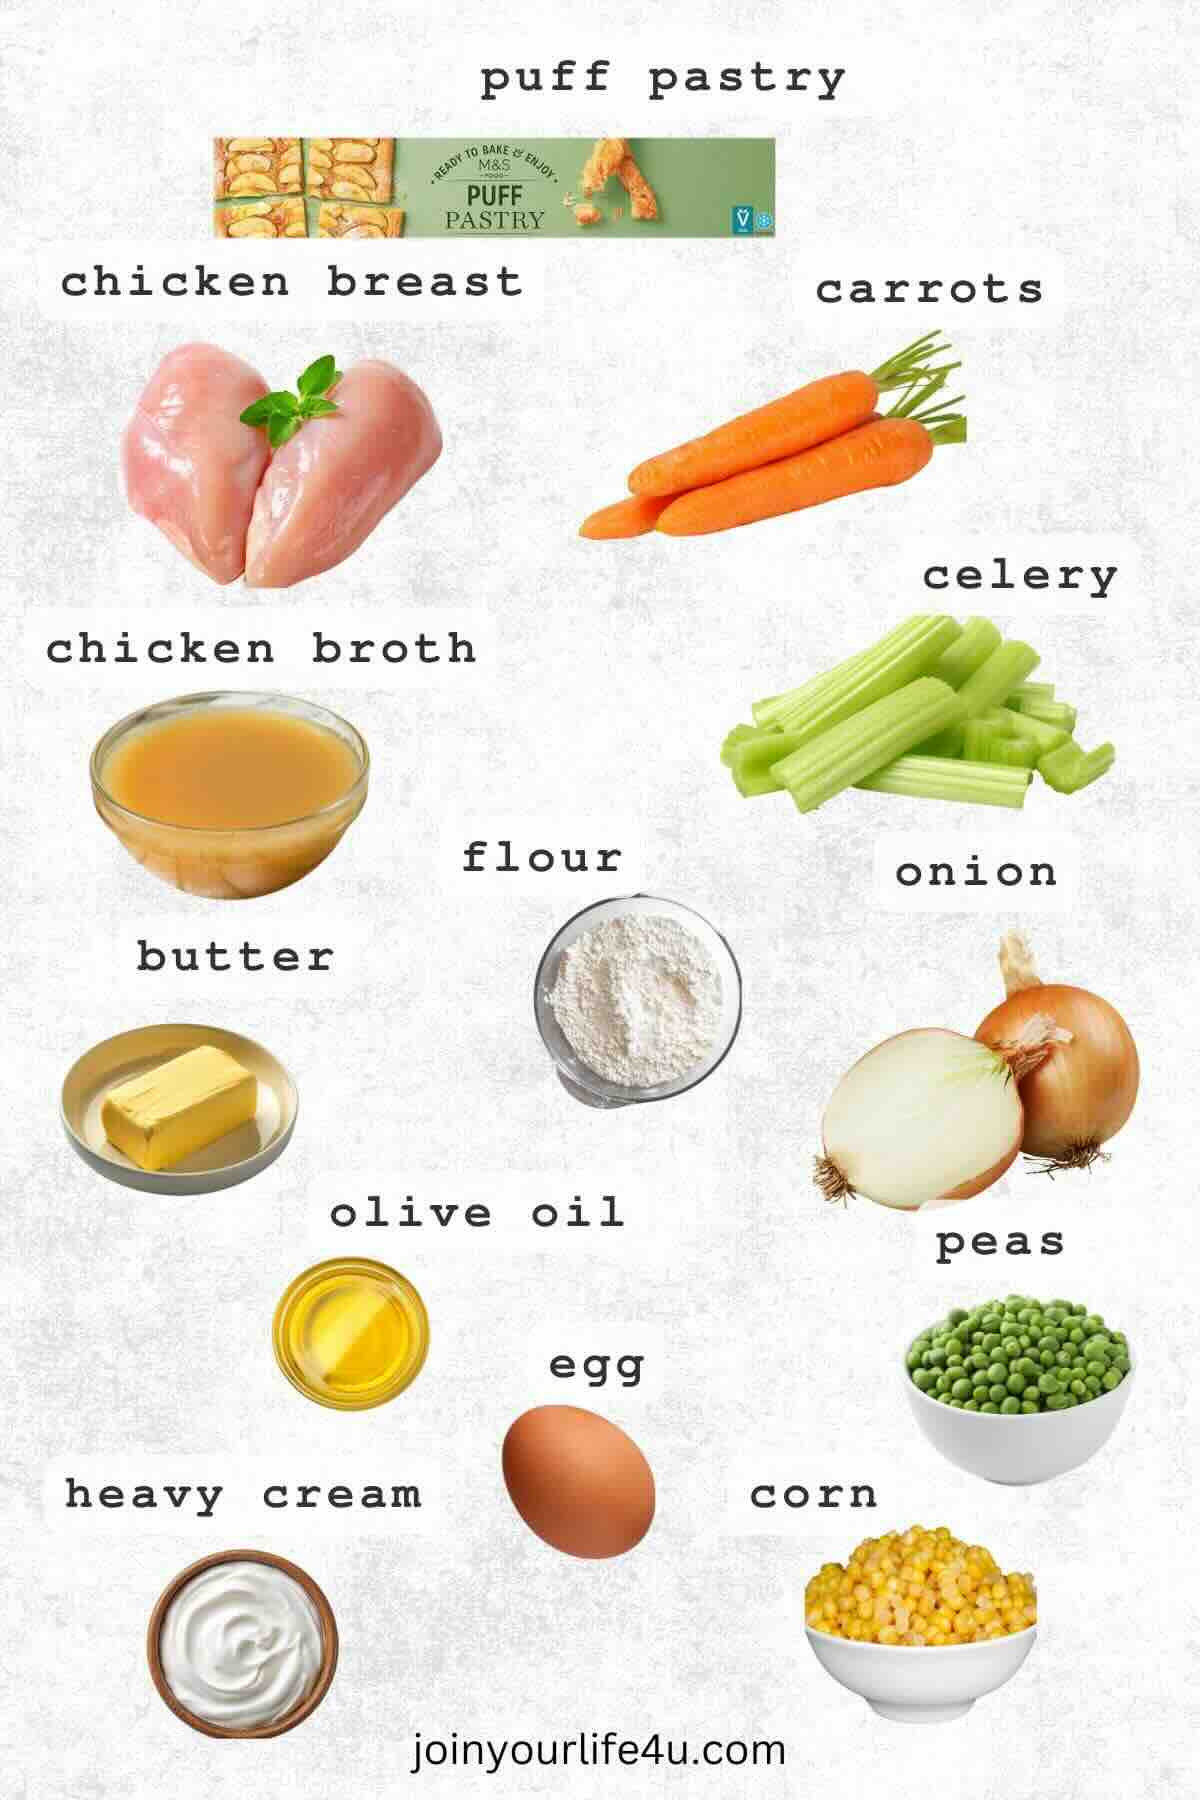
*See the recipe card for full information on ingredients and quantities.
- Chicken breasts: Thighs work here too and stay juicier than breast meat, so swap them in if you prefer.
- Puff pastry: All-butter puff pastry browns more evenly and holds its shape in the braid better than the shortening-based kind. Keep it cold right up until you're ready to use it - pastry that warms up gets sticky and won't puff as cleanly.
- Chicken broth: Use low-sodium broth if you'd rather control the salt yourself; regular broth already carries a fair amount of sodium, so taste before adding more salt.
- Peas and corn: Add both straight from frozen, no need to thaw - thawed vegetables release extra water into the filling and thin out the sauce.
- Butter: If you're using salted butter, go easy on any additional salt in the filling; with unsalted, season a bit more to taste.
- Egg wash: I always add a splash of milk to the beaten egg - it thins the wash slightly and gives the pastry a smoother, more even shine than egg alone.
♻️ Substitutes & Variations
Puff pastry swapped for pie dough: works, but pie dough won't puff or hold the braid shape the same way - go with a lattice instead if you make this swap.
No heavy cream: whole milk works, but the sauce will be thinner and less rich.
No fresh carrots and celery: frozen mirepoix mix saves prep time; the texture is slightly softer once cooked.
Rotisserie chicken instead of raw breasts: skip steps 1-3 and add about 3 cups shredded rotisserie chicken directly in step 7 - faster, but you lose some of the flavor the seasoned, pan-cooked chicken adds to the fond.
👩🍳 How To Make Puff Pastry Chicken Pot Pie
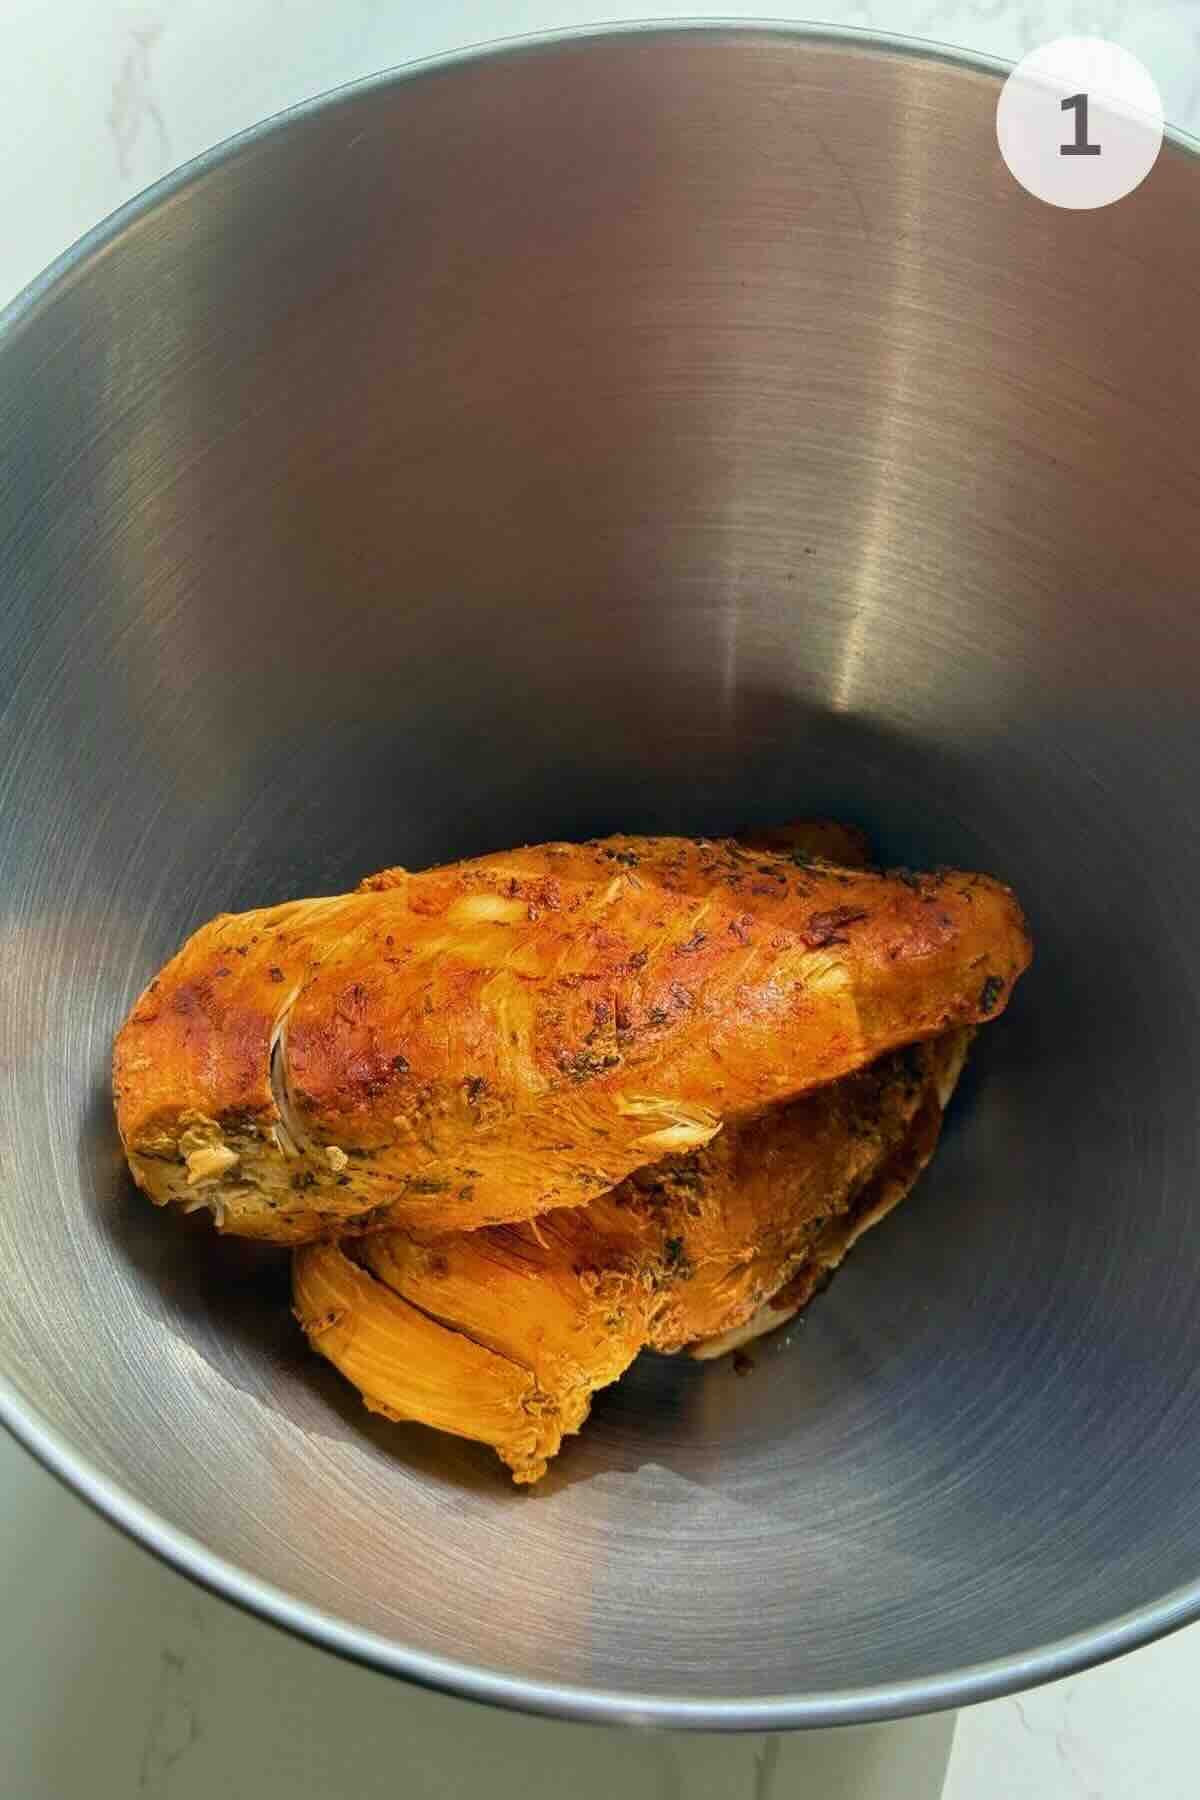
Step 1: Season the chicken breasts with salt, pepper, paprika, garlic powder, and thyme. Cook the chicken in a large pan until fully done.
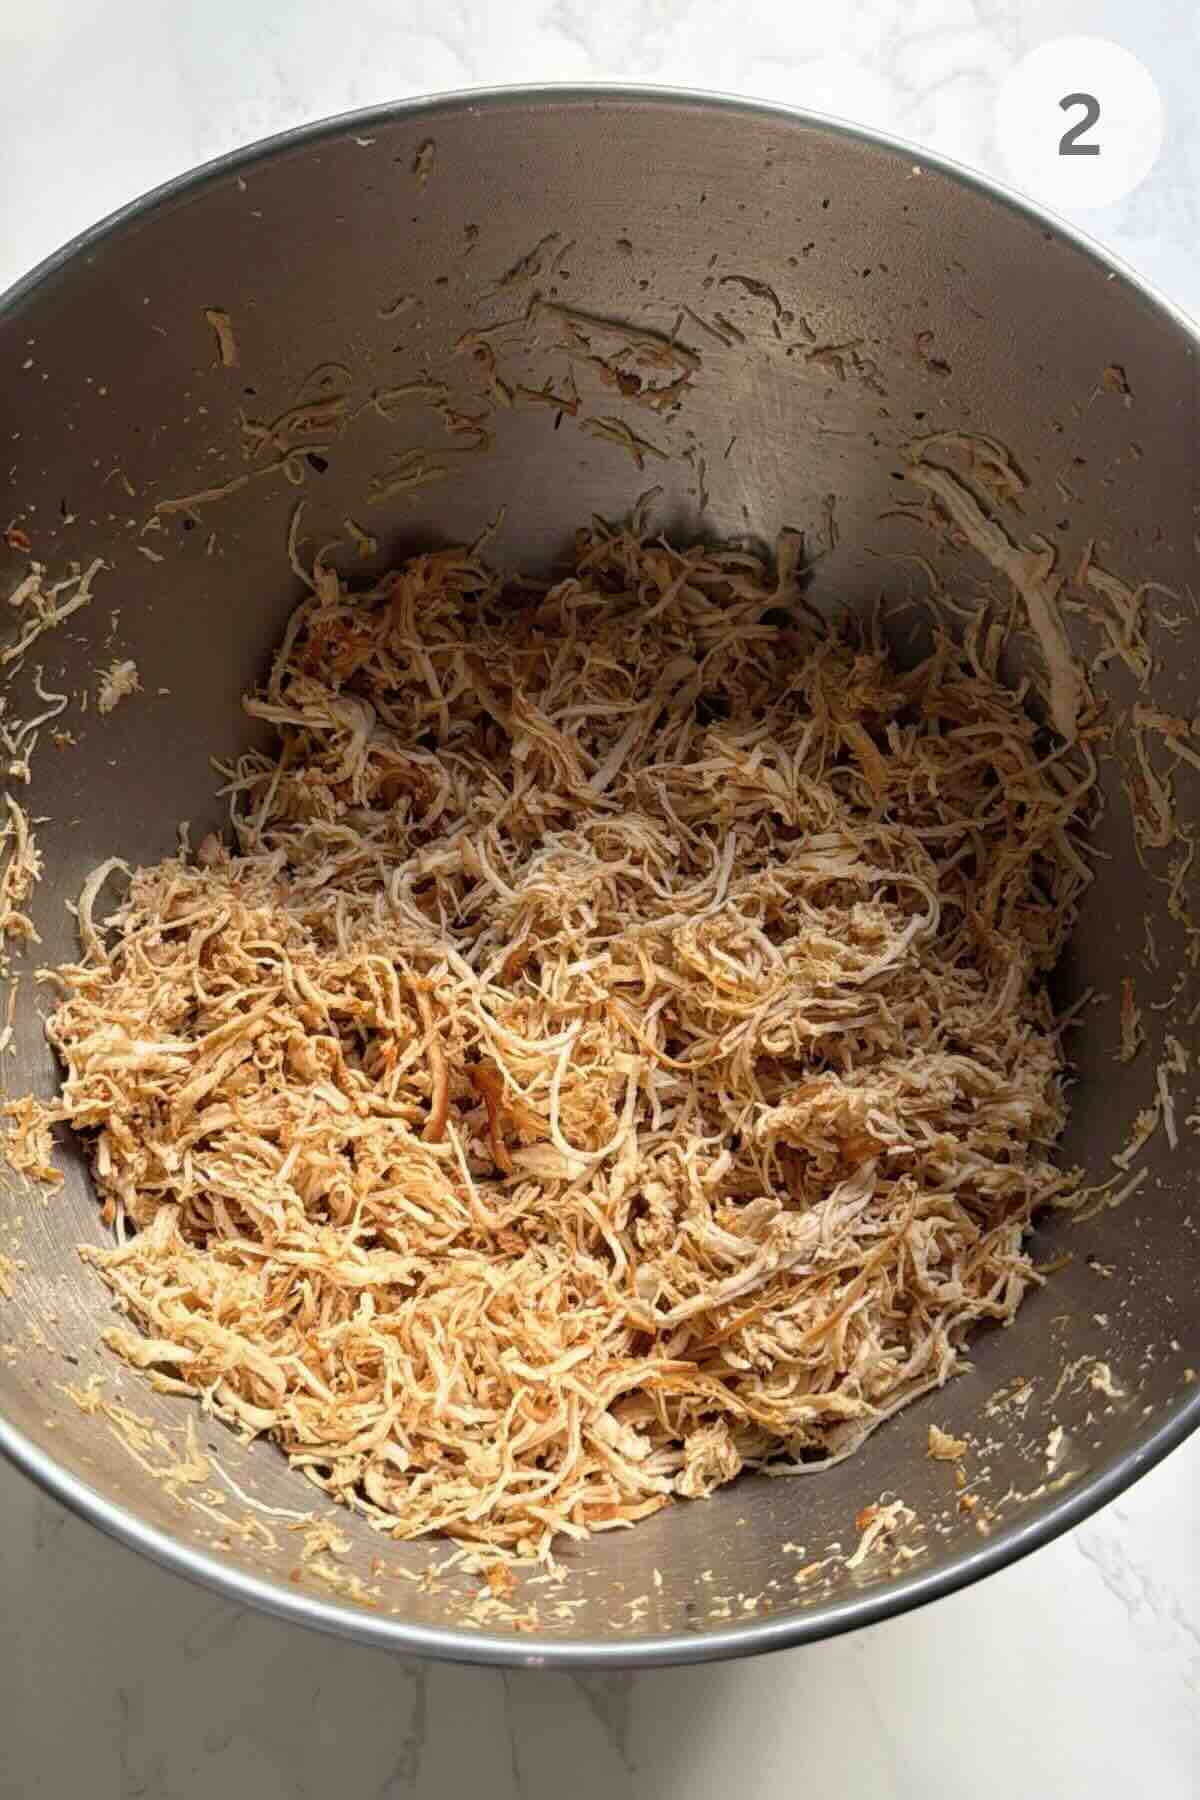
Step 2: Shred it while still warm - a hand mixer or stand mixer both work well for this (just a minute or two on low speed), or use two forks if you don't have either.
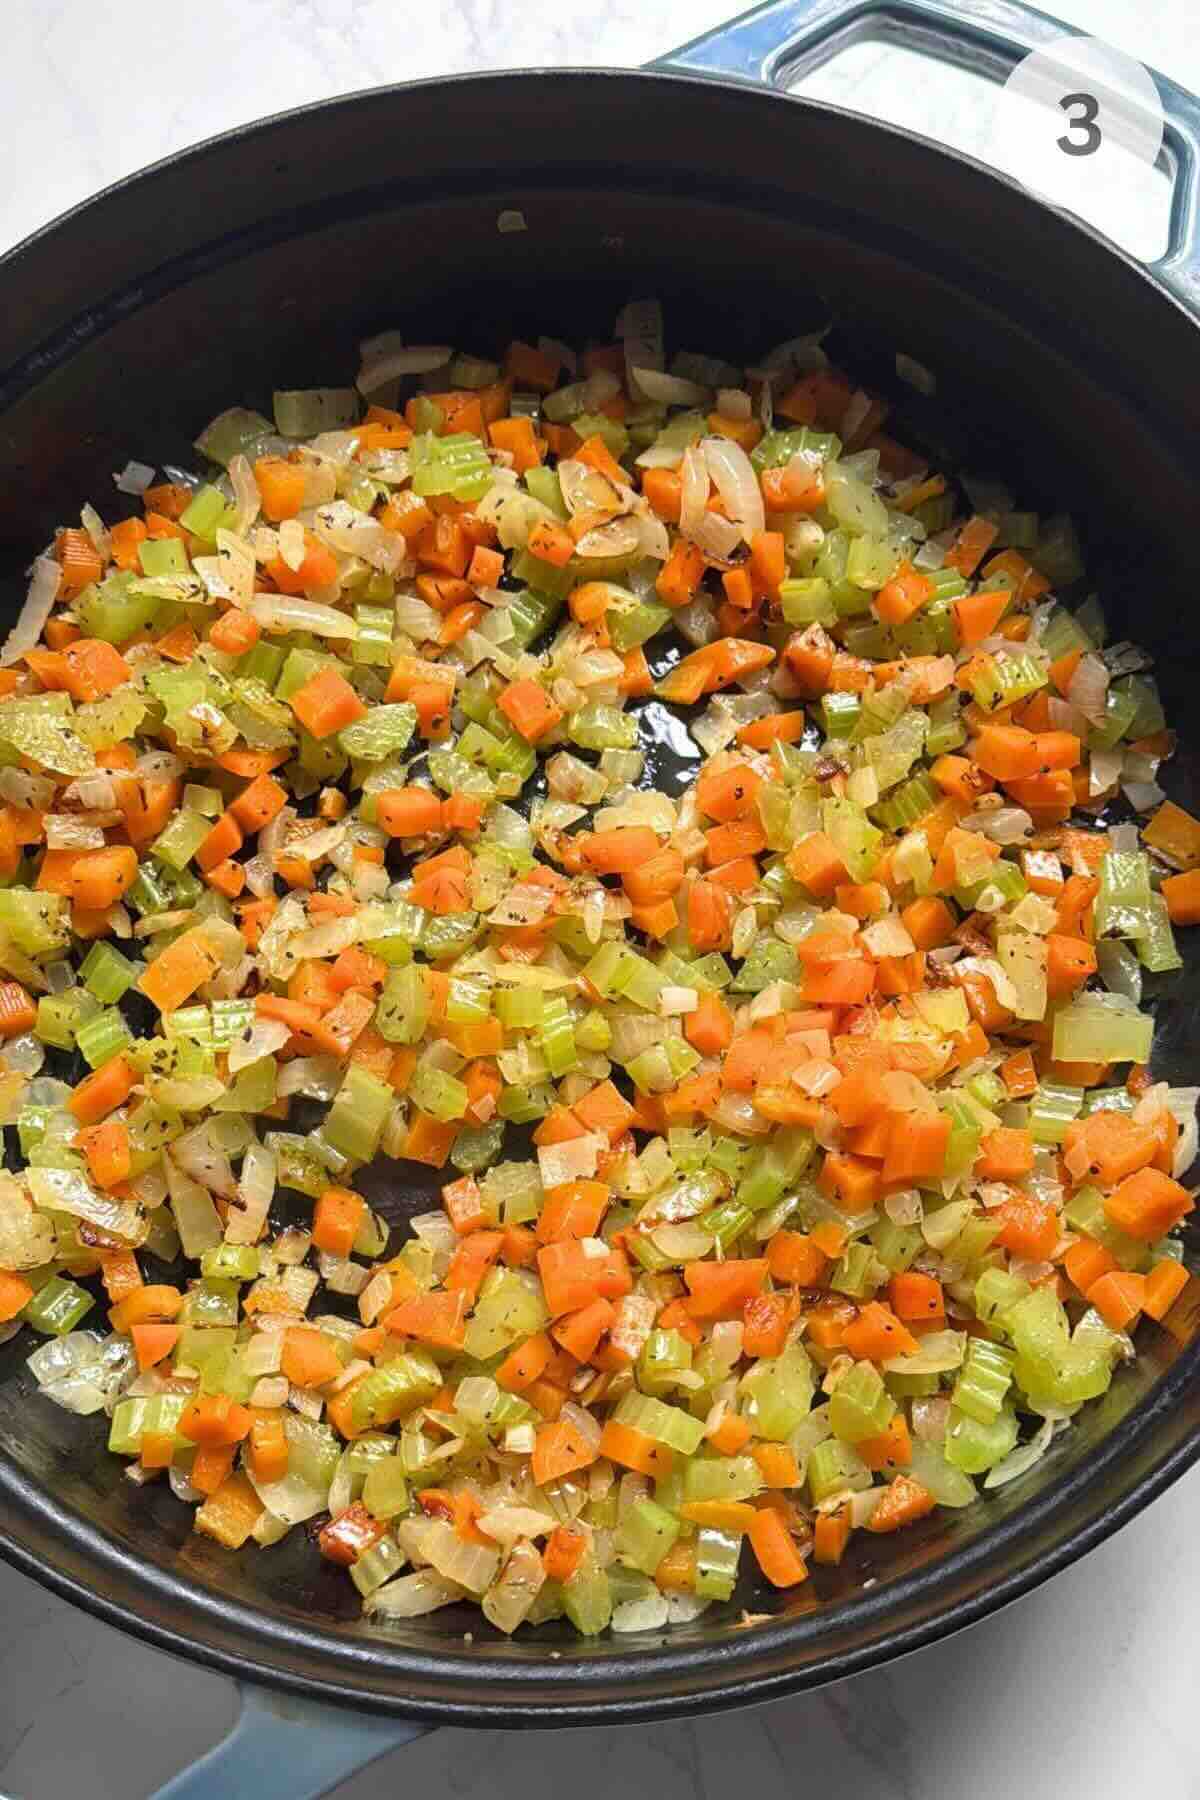
Step 3. In the same pan, dice and sauté the carrots, celery, and onion in the butter until softened, about 6-8 minutes.
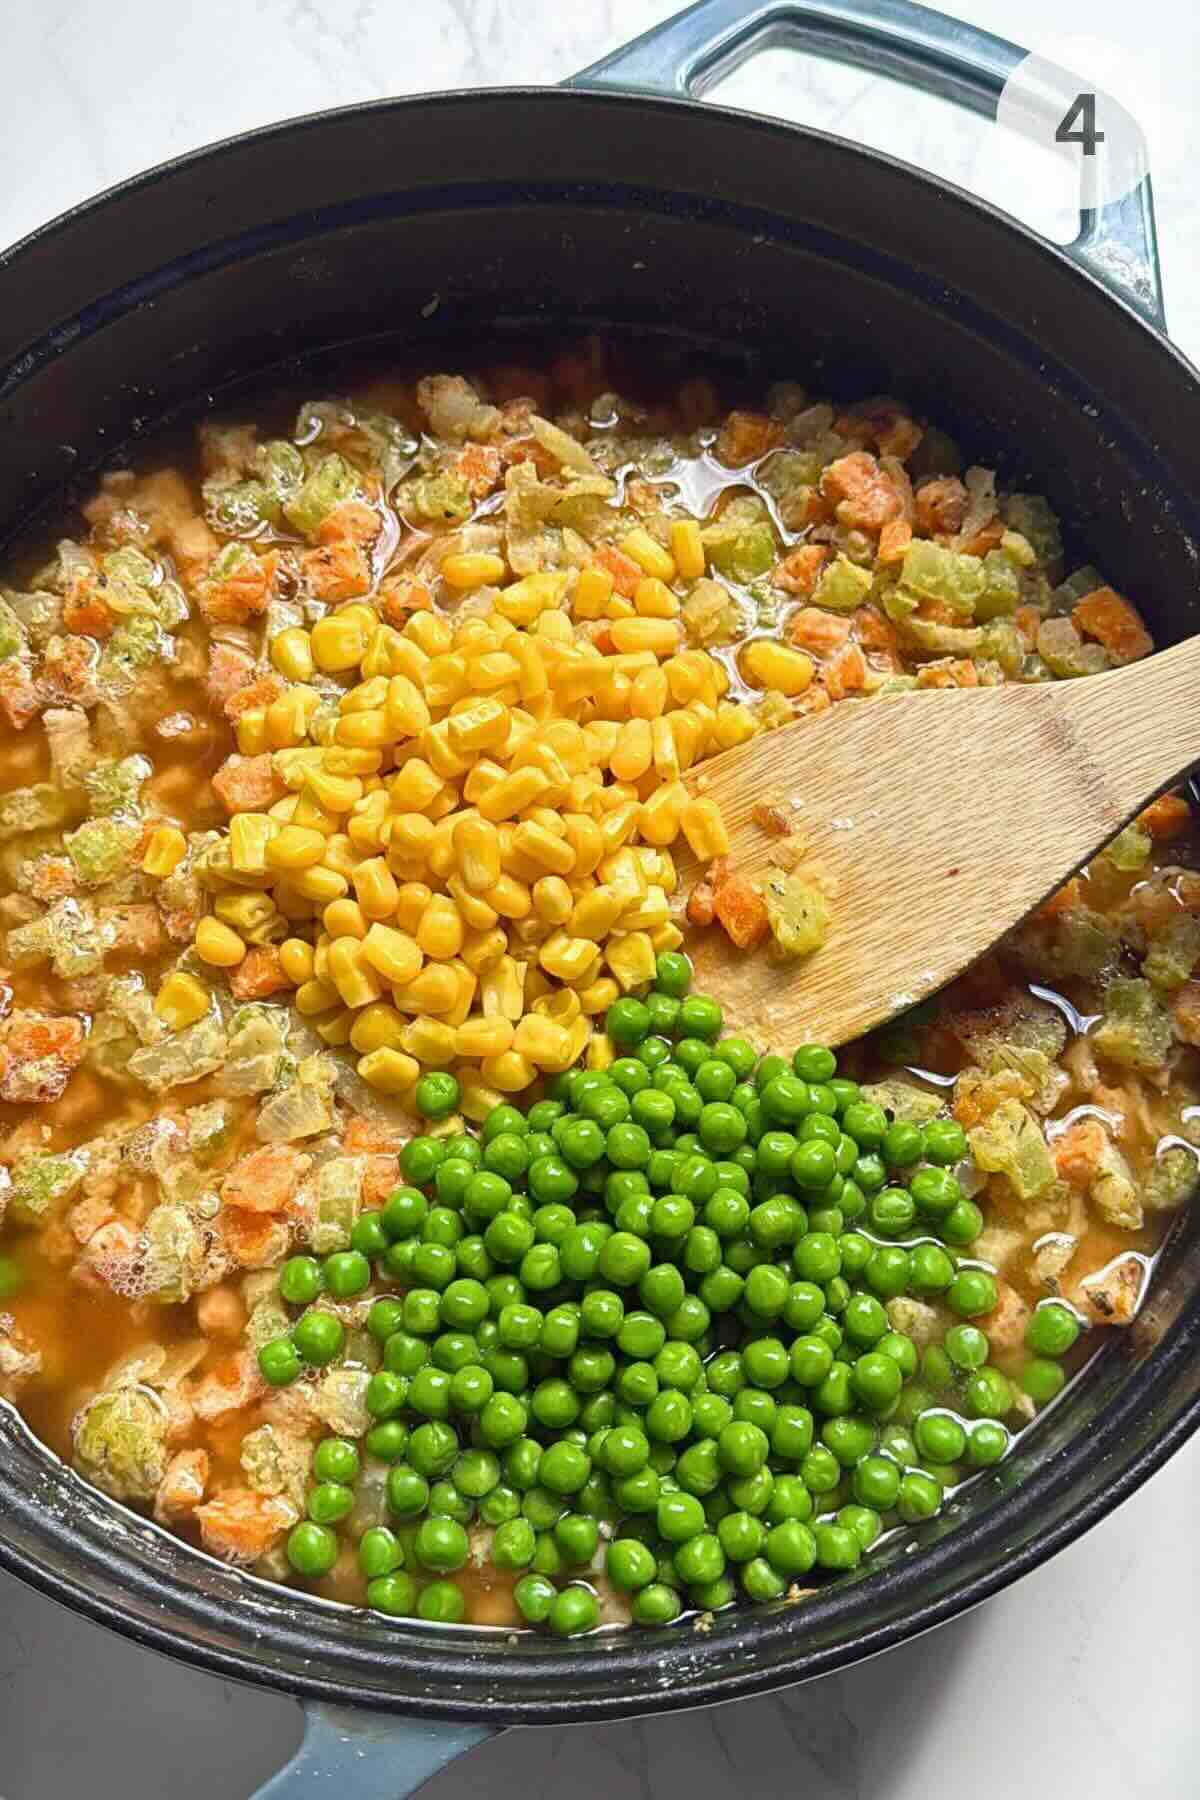
Step 4. Sprinkle in the flour and stir until fully incorporated. Gradually add the chicken broth, then stir in the corn and peas.
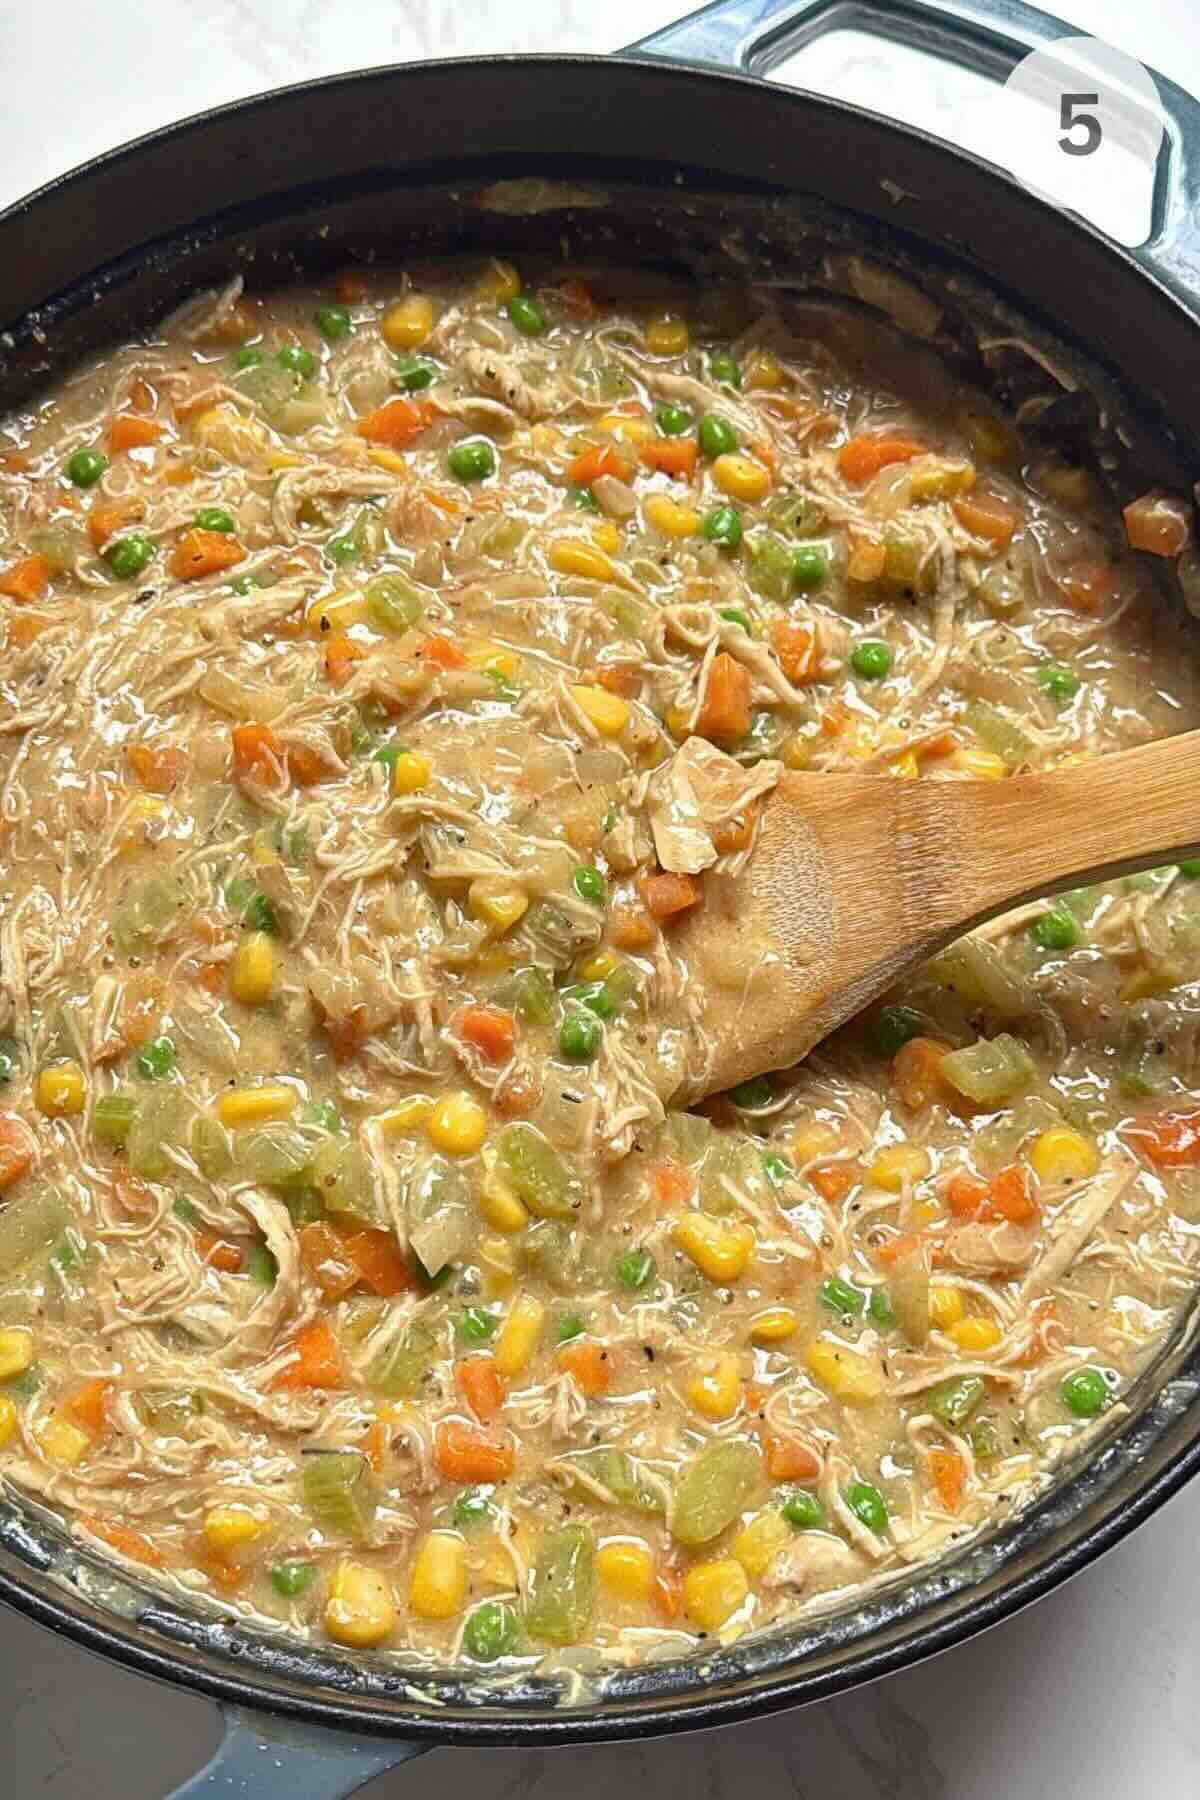
Step 5. Add the shredded chicken and cook for 2-3 minutes, until the sauce thickens. If it looks too dry, add a splash more broth.
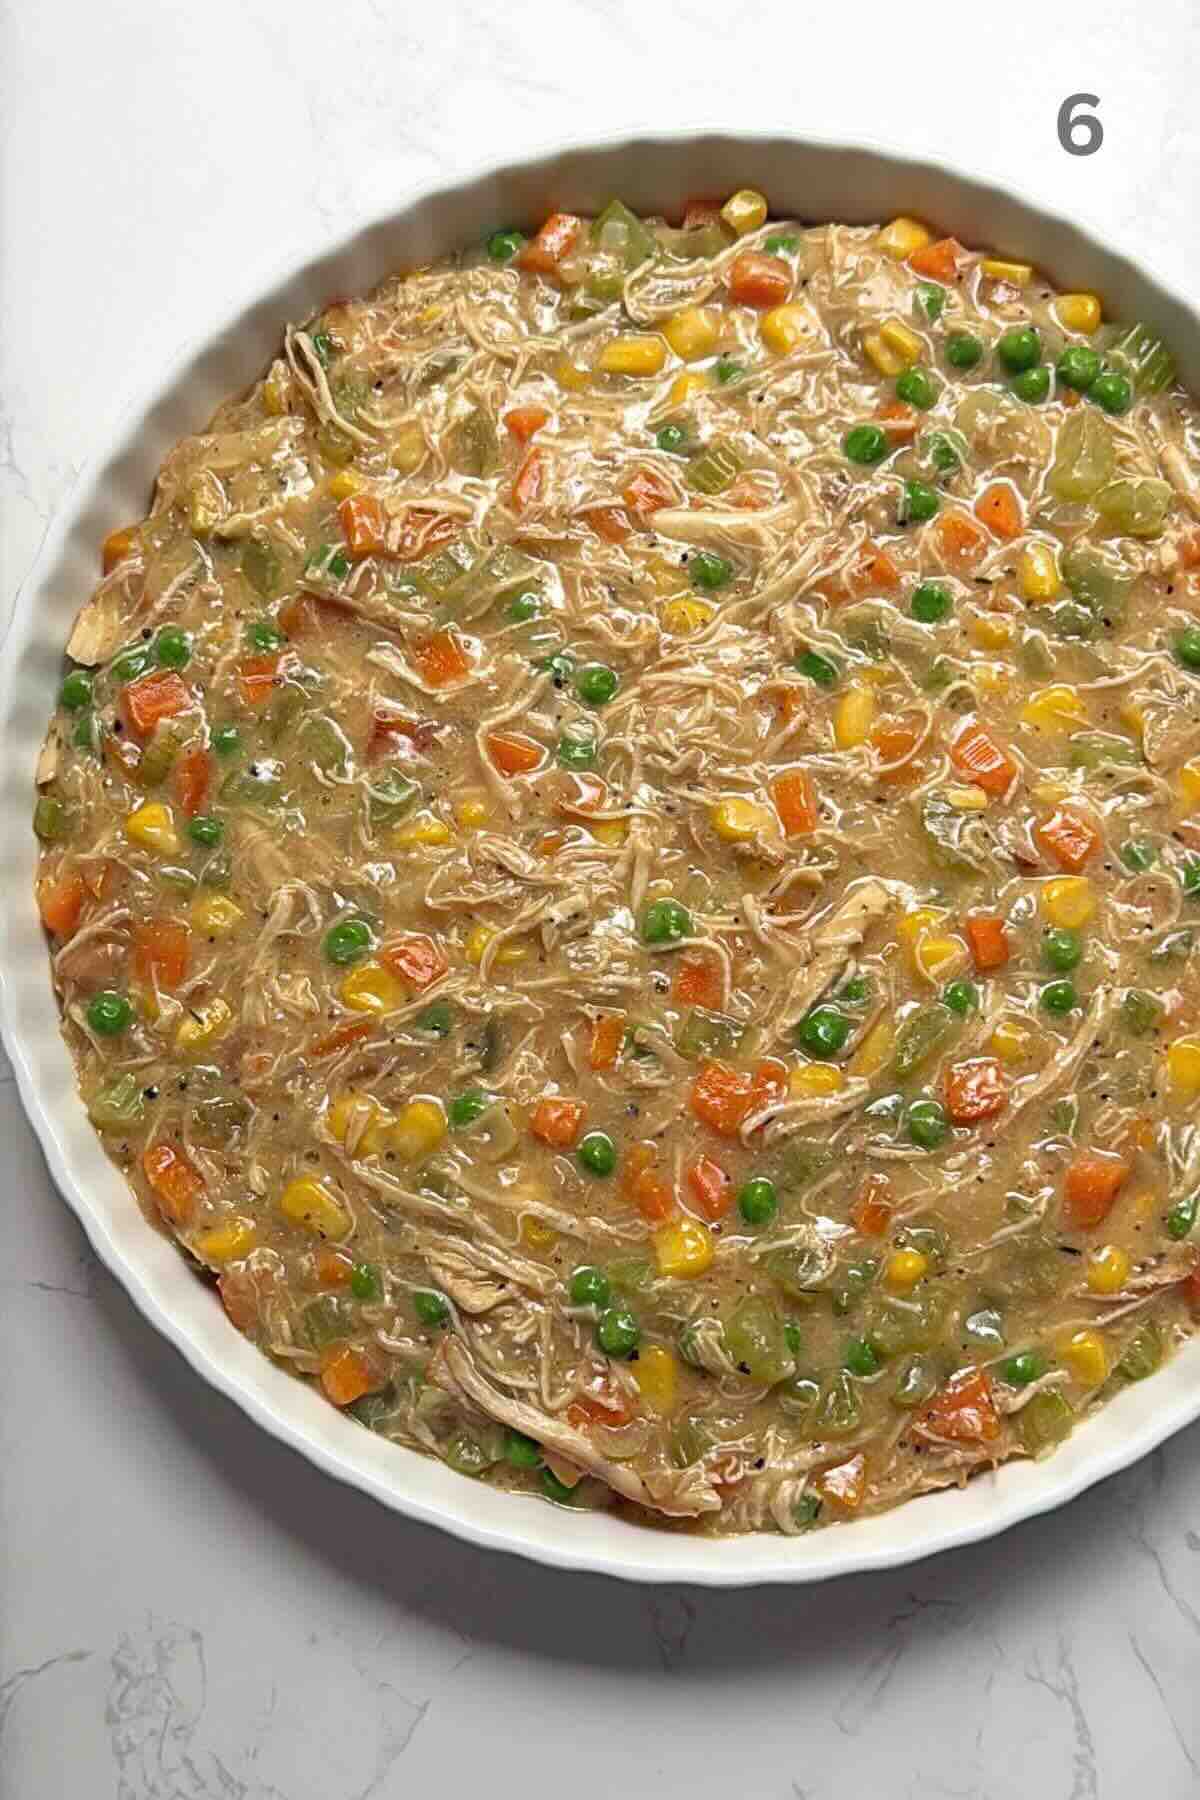
Step 6. Transfer the filling to a ceramic baking dish and spread it into an even layer.
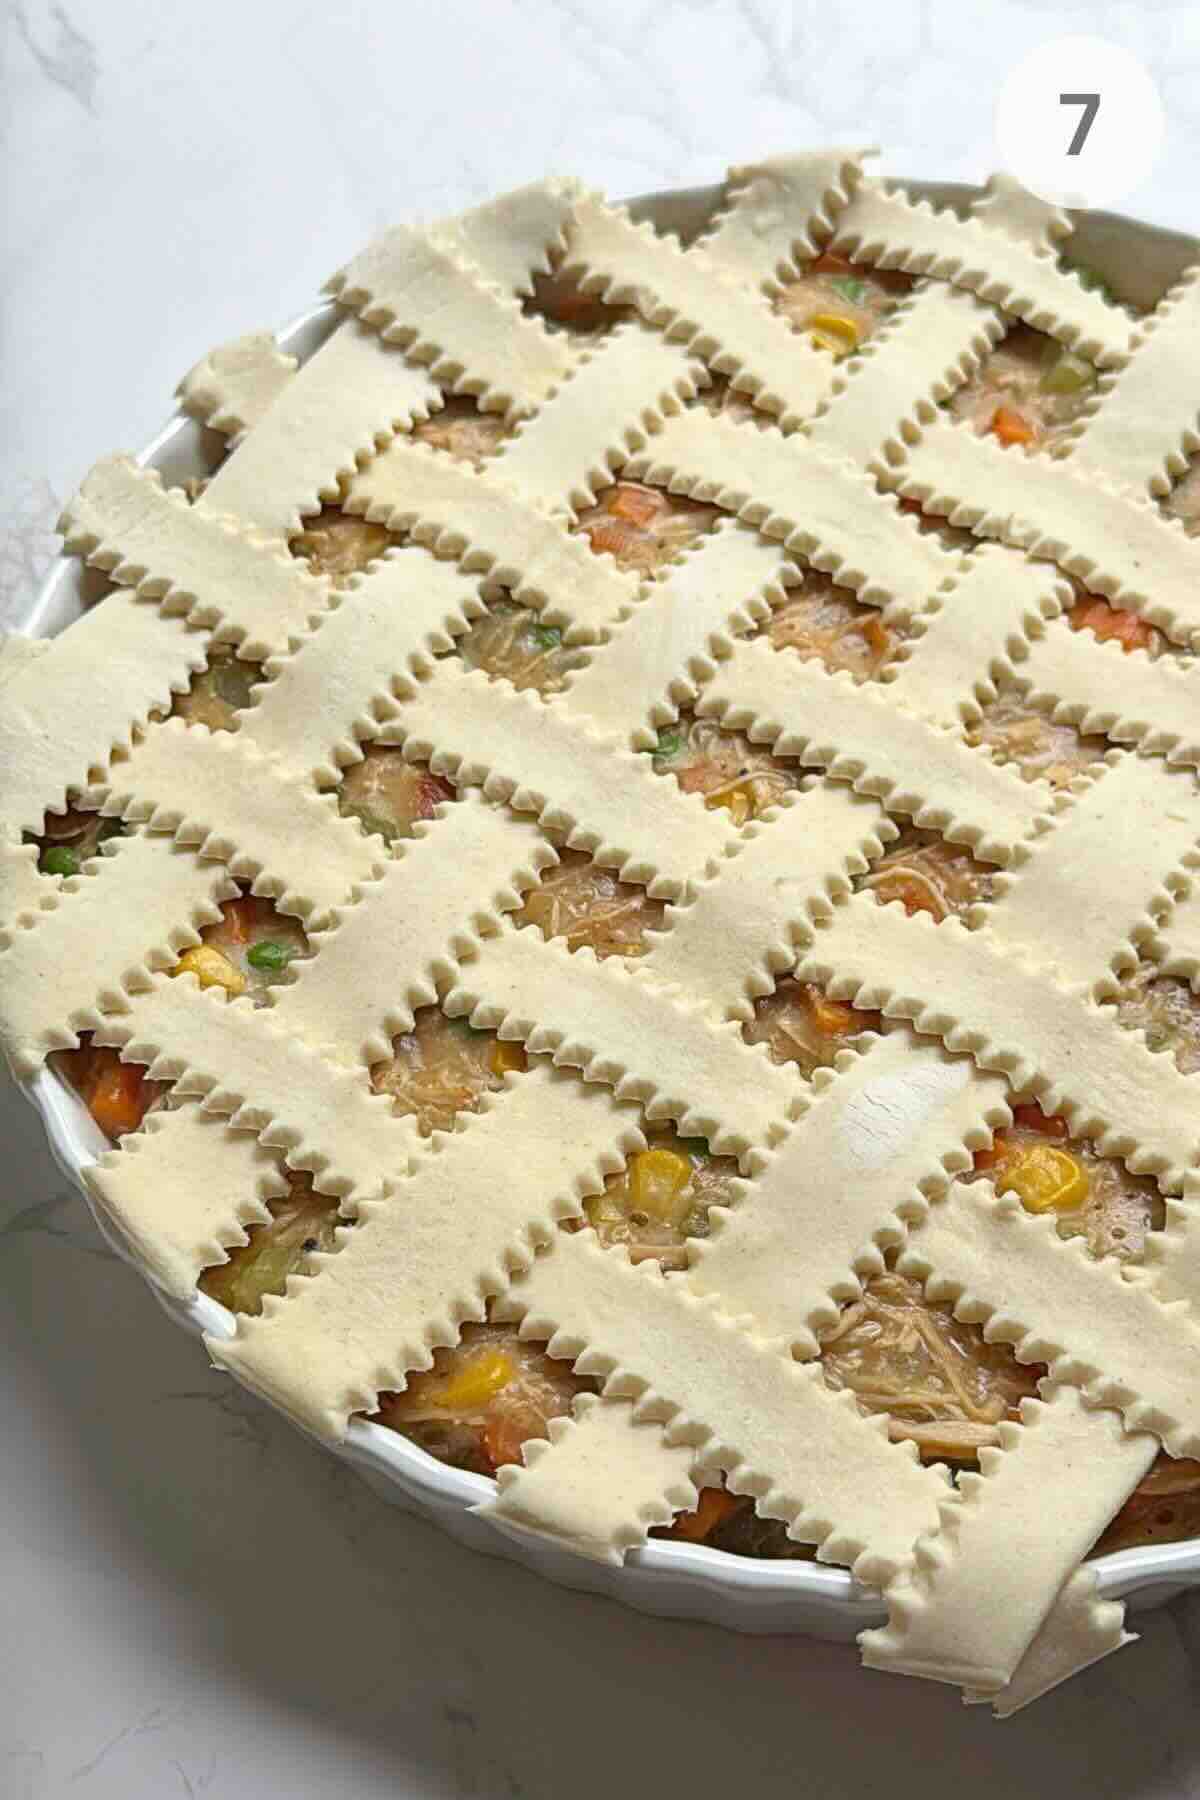
Step 7. Cut the puff pastry into strips and braid them over the filling.
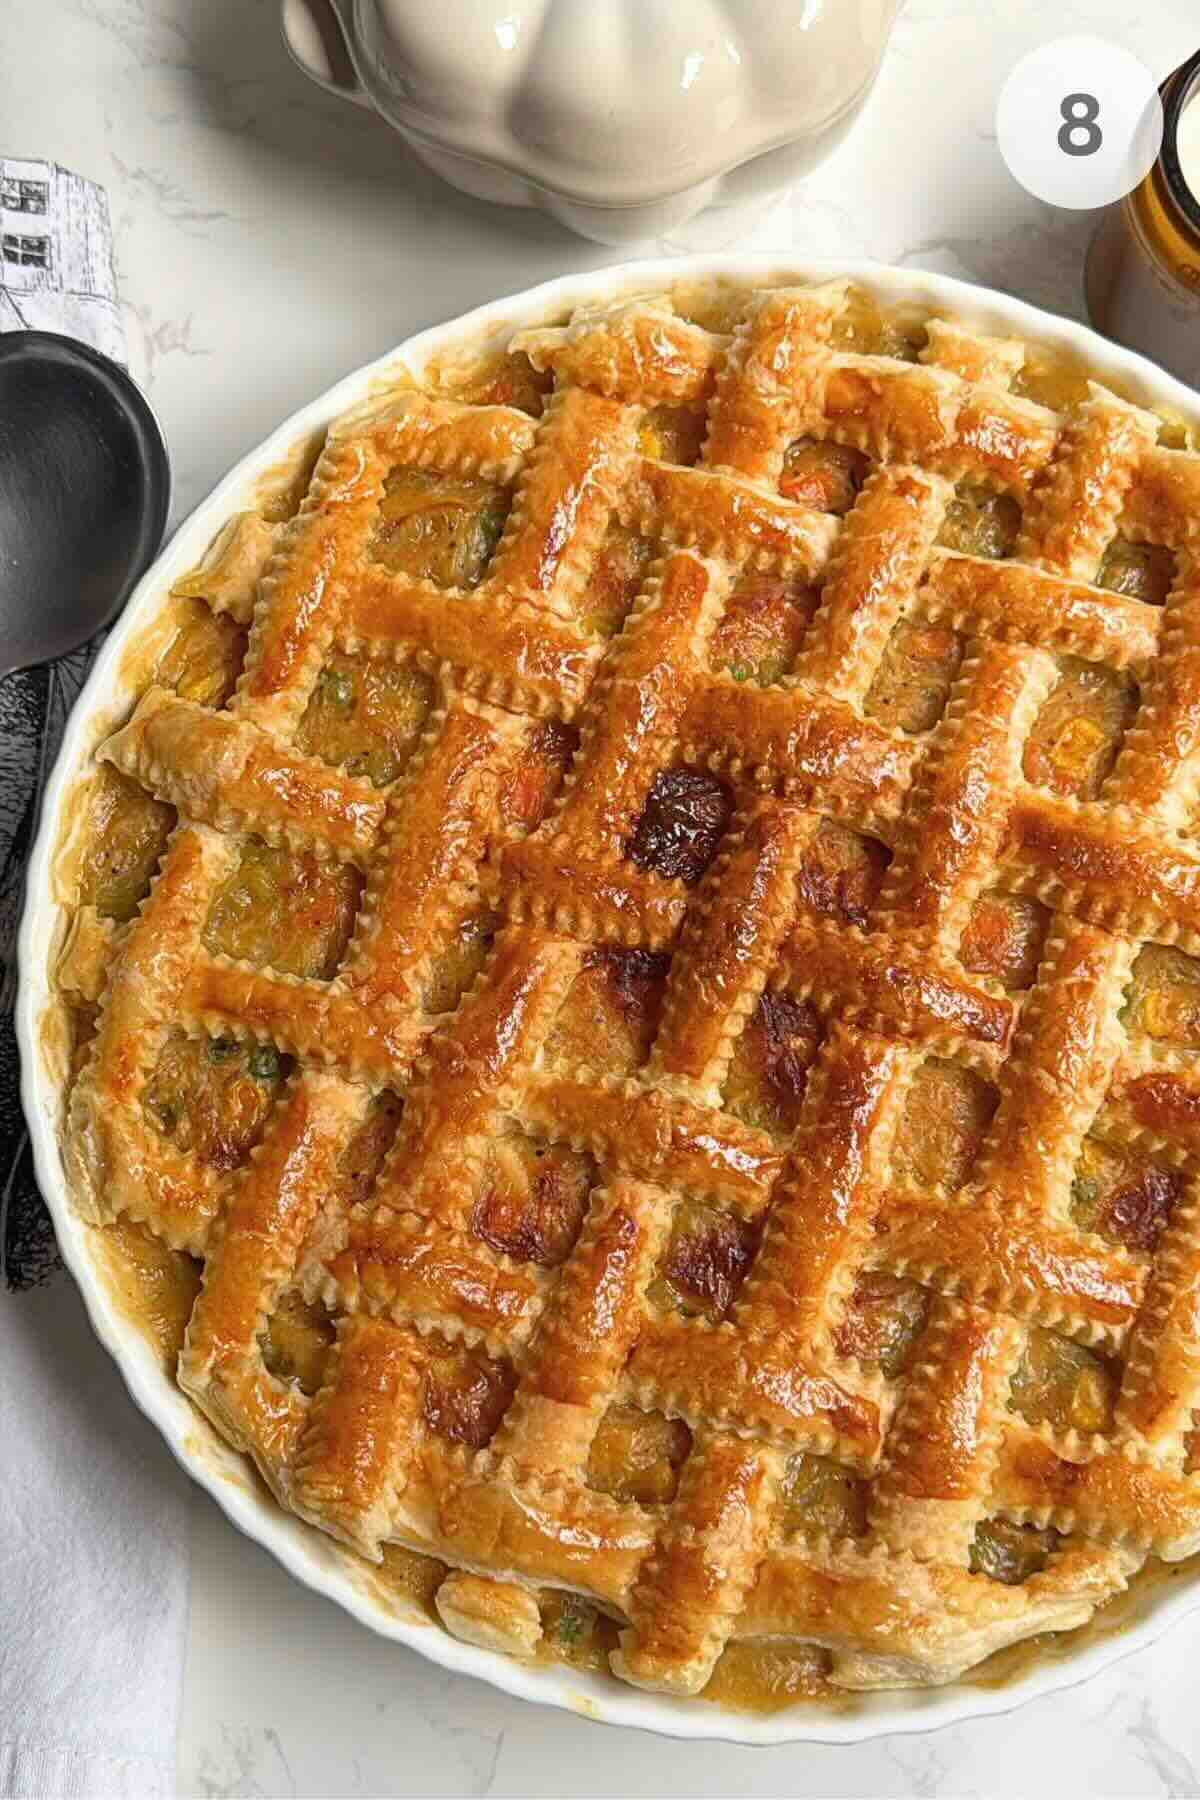
Step 8. Bake until the pastry is deep golden and crisp.
*See the recipe card for detailed instructions.
🥗 Serving Suggestions
My chicory salad with clementine dressing cuts through the richness of the filling well. If you want to stay in comfort-food territory, sautéed green beans with garlic or crispy smashed broccoli with parmesan round out the plate without competing with the pastry.
Claudia's top Tips
- Let the filling cool slightly before adding the pastry - pastry laid over a piping-hot filling starts melting before it hits the oven.
- Cut the pastry strips with a sharp knife or pizza cutter, not a dull one - clean edges puff more evenly than ragged ones, I used this pastry cutter.
- Don't skip the egg wash. It's the difference between a matte crust and one with real shine and color.
Common Mistakes
- Overfilling the dish: leave at least half an inch of space at the top, or the filling bubbles over onto the pastry edges during baking.
- Weaving the pastry too tightly: it needs room to puff - a tight weave bakes up dense instead of flaky.
- Skipping the thickening step: if the sauce isn't thick before it goes in the oven, it stays thin under the crust no matter how long you bake it.
For more recipes and inspiration, visit the Life's Good Kitchen: Home Cooks' Way
❓ FAQs
A bottom pie crust sits directly against a wet filling and steams instead of baking, which is why this recipe skips it entirely and puts all the pastry on top.
Yes - the filling keeps in the fridge for up to 2 days. Reheat it gently on the stove before adding the pastry and baking, since cold filling will slow down the bake time.
Store baked leftovers in an airtight container in the fridge for up to 3 days. Reheat in the oven at 350°F to keep the pastry from going soft - the microwave will make it chewy.
Freeze the unbaked filling on its own for up to 3 months; add the fresh pastry braid only when you're ready to bake, since frozen puff pastry that's been thawed once already won't puff as well a second time.
Puff pastry that's too warm gets sticky and tears easily - if it's giving you trouble, put the cut strips back in the fridge for 10 minutes before weaving them.
More Recipes You'll Love


Tried this recipe? Give it a star rating below! ⭐⭐⭐⭐⭐
HUNGRY FOR MORE? Subscribe to my newsletter and follow along on Facebook, Pinterest, and Instagram for the latest updates.
📖 Recipe

Puff Pastry Chicken Pot Pie
Video
Ingredients
- 2 chicken breasts about 1 lb, seasoned with salt, pepper, paprika, garlic powder, and thyme
- 1 tablespoon olive oil for cooking the chicken
- 3½ tablespoons butter
- 2 carrots diced
- 2 celery stalks diced
- 2 medium white onions diced
- ½ cup frozen peas
- ½ cup frozen or canned corn
- ½ cup heavy cream
- ½ cup all-purpose flour
- 3 cups chicken broth
- 1 sheet puff pastry about 8-9 oz, thawed if frozen
- 1 egg beaten, for egg wash
Instructions
- Season the chicken breasts with salt, pepper, paprika, garlic powder, and thyme. Heat the olive oil in a large pan over medium heat and cook the chicken until fully cooked through, about 6-7 minutes per side depending on thickness.2 chicken breasts, 1 tablespoon olive oil
- Remove the chicken and shred it while still warm - a stand mixer with the paddle attachment does this quickly, or use two forks.
- In the same pan, melt the butter and add the diced carrots, celery, and onion. Cook until softened, about 6-8 minutes.3½ tablespoons butter, 2 carrots, 2 celery stalks, 2 medium white onions
- Sprinkle the flour over the vegetables and stir until fully incorporated, about 1 minute. Gradually pour in the chicken broth, stirring constantly to avoid lumps.½ cup all-purpose flour, 3 cups chicken broth
- Add the peas, corn, heavy cream, and shredded chicken. Cook over low heat, stirring occasionally, until the filling thickens and turns creamy, about 8-10 minutes. Add a splash more broth if it looks too thick.½ cup frozen peas, ½ cup frozen or canned corn, ½ cup heavy cream
- Transfer the filling to a ceramic baking dish and spread it into an even layer and Preheat the oven to 375°F (190°C).
- Roll out the puff pastry and cut it into long strips, about 1 inch (2.5 cm) wide.1 sheet puff pastry
- Weave the strips over the filling in a braided pattern, trimming any overhang. Brush the pastry with the beaten egg. Bake for 40-45 minutes, until the pastry is deep golden and crisp.1 egg




Emelie says
The braided puff pastry top made this feel so pretty, but the filling was still pure comfort food. I loved the creamy chicken and vegetables underneath, and skipping the bottom crust kept everything crisp instead of soggy.
Claudia-Cristina Ciorteanu says
Avoiding that soggy bottom layer makes such a difference in the overall texture! I'm so glad you enjoyed the crisp top with that cozy filling, Emelie.
LisaLisa says
This looks absolutely delicious! I love a good chicken pot pie, and using puff pastry makes that golden, flaky topping look even more irresistible. Such a comforting meal, especially when you want something warm and filling.
Claudia-Cristina Ciorteanu says
Flaky, golden puff pastry really brings a whole new level of comfort to a classic dinner. Thank you for your sweet words, Lisa!
Camilla T says
This looks like such a cozy comfort meal ✨ I love the idea of using a braided puff pastry topping instead of a traditional crust, and the creamy chicken and vegetable filling looks so good. Definitely one to save for the colder months!
Claudia-Cristina Ciorteanu says
You're going to love this when the chilly weather sets in, Camilla T! The steam escaping through the braid keeps the pastry light and crisp every time.
Trish says
Seriously can't wait to try this! I love chicken post pie, and especially for fall and winter. This recipe looks delicious!
Claudia-Cristina Ciorteanu says
Fall is definitely the absolute best time for a bubbling pot pie, Trish! Hope you get a chance to make it soon.
Lex B says
Wow, I just made a similar recipe and I feel like this one will have me coming back time and time again! Thank you!
Claudia-Cristina Ciorteanu says
Wow, knowing this recipe stands out among similar ones means the world to me, Lex B! Thanks for taking the time to share that.
Dusty says
I love chicken pot pie, it is one of my favorite comfort foods. I never thought to braid the crust. I will have to give that a try. your recipe looks absolutely delicious!
Claudia-Cristina Ciorteanu says
Braid weaving is surprisingly straightforward once you start, Dusty, and it completely prevents steam from making the top soggy. Hope you give it a spin!
Ana says
This was so comforting with the creamy chicken filling and crisp puff pastry on top. I loved the braided crust...it made the whole dish feel a little more special!!
Claudia-Cristina Ciorteanu says
Turning a humble dinner into something that looks special without extra fuss is always my favorite part of baking. So happy you liked it, Ana!
Danielle says
Delicious filling, and beuatiful top! I am always a little aprehensive about baking pies in fear of soggy bottoms, but making a lattice on top only, solves the problem beutifully and it's nobody misses the extra pastry anyway. Thank you for another tasty recipe.
Claudia-Cristina Ciorteanu says
Spot on, Danielle! Skipping the bottom crust completely removes the risk of soggy dough, and no one ever complains about having less pie bottom!
Lisa says
Such delicious comfort food! Plus, the puff pastry lattice crust turned out beautifully!
Claudia-Cristina Ciorteanu says
The lattice top really adds that lovely bakery touch right at home! Appreciate you stopping by to leave your thoughts, Lisa.
Denise says
I made this, and it was incredible! The creamy, savory filling and crisp, buttery pastry were absolutely irresistible.
Claudia-Cristina Ciorteanu says
Buttery pastry mixed with a rich filling is a hard combination to resist, Denise! Thank you so much for the fantastic review.
Amy Dong says
The filling was rich and flavorful, with a wonderfully flaky crust!
Claudia-Cristina Ciorteanu says
Flaky layers and a hearty center make for the ultimate cozy combination! Thanks for giving this a try, Amy.
Mia says
The creamy chicken filling was so comforting, and I loved the crisp puff pastry on top. The braided crust made it feel extra special without being complicated
Claudia-Cristina Ciorteanu says
Keeping things simple yet impressive on the table is what it's all about! So delighted the braided design worked out so nicely for you, Mia.
Brooke says
This was absolutely delicious! It was a satsifying dinner that my family loved.
Claudia-Cristina Ciorteanu says
Serving a dinner that pleases the whole family makes all the prep work completely worth it. Thank you for sharing that, Brooke!
Susie says
The ultimate comfort food dinner! I'll be making this all fall and winter!
Claudia-Cristina Ciorteanu says
Stocking up on cozy dinner ideas for fall and winter is essential! Delighted to hear this one made your seasonal rotation, Susie.